Meal Plan with WiseList: A Step-by-Step Guide to Smarter Meal Planning
In today’s busy Australian households, effective meal planning is one of the easiest ways to save time, reduce stress and make smarter choices about what we eat.
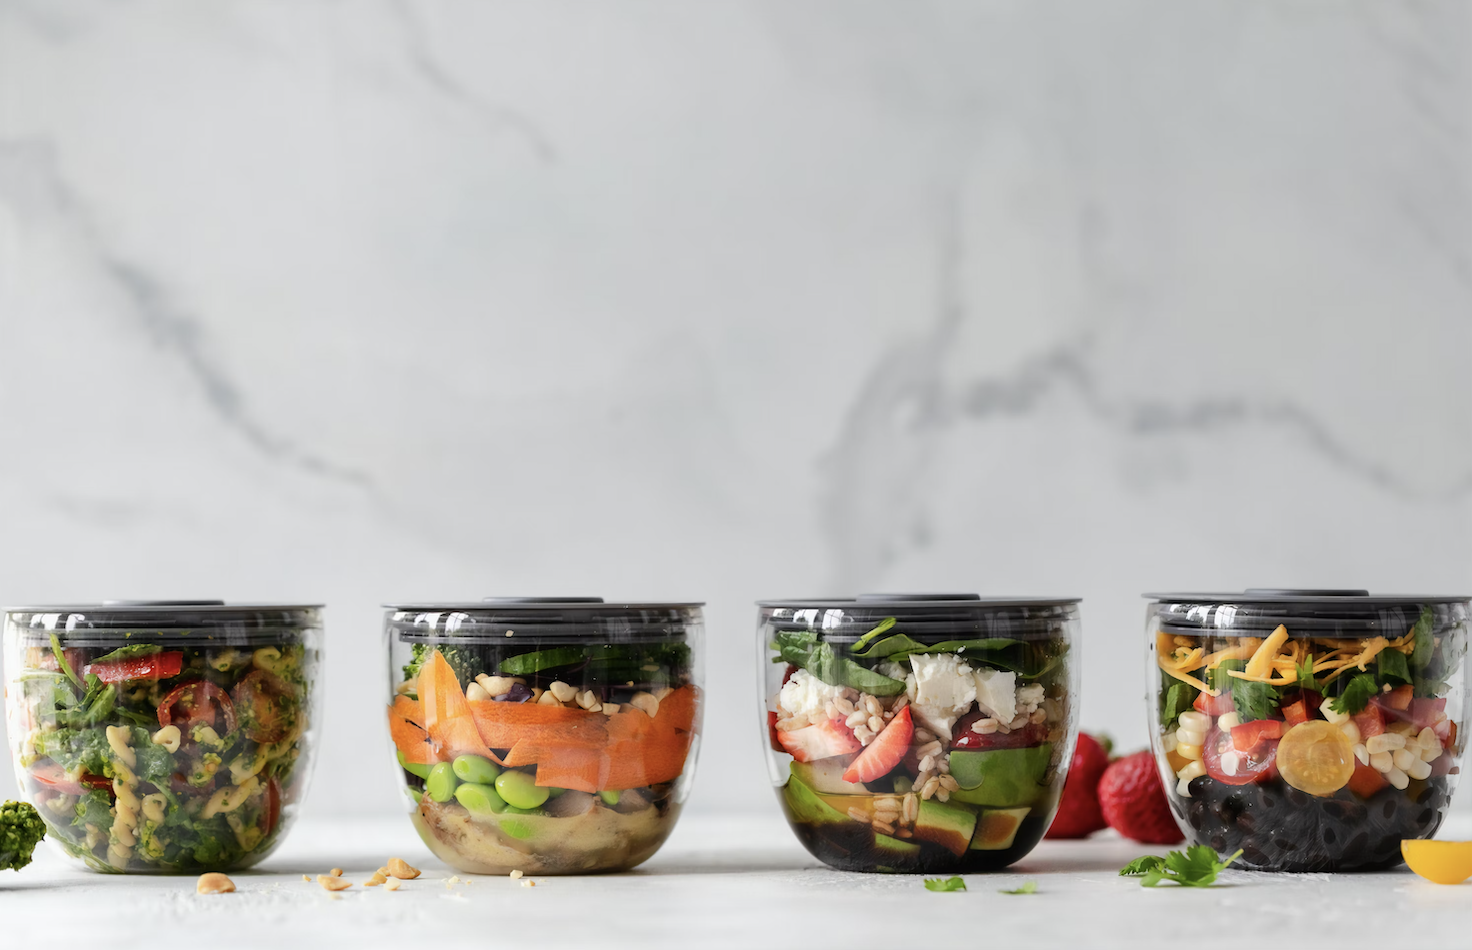
WiseList makes this process simple with its new AI-powered feature designed to help you build a personalised meal plan in minutes. Instead of juggling recipes, notes and shopping lists, everything works together in one place.
This guide walks you through exactly how to use WiseList’s meal planning feature from setting preferences to automatically creating your grocery list.
Why Meal Planning Matters?
Without a clear meal plan, many households fall into the same cycle:
- Last-minute dinner decisions
- Overspending on groceries
- Buying ingredients already at home
Using a digital meal planner helps you plan ahead, reduce food waste and make grocery shopping more intentional.
WiseList’s AI meal planner takes this a step further by automating decisions while still keeping you in control.
Your Quick Guide to Using the WiseList Meal Plan Feature:
Step 1: Get Started with Your Meal Plan
Open your WiseList app and head to the dashboard. Under the “Lists” section, tap Meal Plan.
- First-time user? Tap Start Meal Plan
- Creating a new plan? Tap the + icon in the top-right corner
This is where your meal planning journey begins.
Step 2: Define Your Dish – Diet & Cuisines. Personalisation is key to successful meal planning.
- Choose your Diet Type: Choose from a wide range of options to match your lifestyle “Anything,” “Keto,” “Vegetarian,” “Paleo,” “Low Carb,” “Pescatarian,” and more. Tap “Next.”
- Favourite Cuisines: What tickles your taste buds? Select your preferred cuisines, from “Western” classics to vibrant “Asian” dishes and beyond. Tap “Next.”
Step 3: Plan for People & Pennies. This step ensures your meal plan fits your real life.:
- How Many People? Input the number of hungry mouths you’re feeding.
- Set Your Budget: This is a crucial step! Define your spending limit. Remember, your budget will influence the number of days you can plan for, ensuring you stick to your financial goals. Tap “Next.”
Smart meal planning isn’t just about food, it’s about control.
Step 4: Customise Your Weekly Meal Plan
- Select Days & Dates: Choose how many days you want to plan for (up to 7 days) and specify the exact dates.
- Choose Meal Types: Decide if you want to plan for “Breakfast,” “Lunch,” “Dinner,” “Snack,” or “All of them.”
- Pick Your Plates: For each selected meal type, WiseList will present you with three tempting options. Don’t quite fancy what you see? No problem! Just tap the “Refresh” button next to “Breakfast,” “Lunch,” or “Dinner” to instantly get new suggestions.
- Build Your Days: Once you’re happy, select the items for Day 1. Then, follow the same simple process for Day 2, Day 3, and so on, until your entire week’s meal plan is perfectly curated.
Step 5: Instantly Create Your Grocery List
You’ve built your perfect meal plan, now what? WiseList makes the next step incredibly easy. Once your days are complete, you’ll see a convenient option to add all the ingredients directly to your grocery list. This means less time writing lists and more time enjoying your delicious, pre-planned meals!
This seamless connection between meal planning and shopping is what sets WiseList apart.
The new WiseList Meal Plan feature is about empowering you to make smarter choices for your kitchen and your wallet. Say goodbye to last-minute meal stress and hello to organised, budget-friendly, and delicious eating.
Why WiseList Makes Meal Planning Easier
WiseList isn’t just another planning tool. It connects your:
- meal plan
- grocery list
- fridge and pantry tracking
All inside one intuitive system.
If you’re looking for a smarter way to plan meals without the overwhelm, WiseList’s meal planner app is built to support busy Australian households. Discover how WiseList’s AI meal planner helps you plan smarter, shop easier and stress less.
Related Articles
AI Meal Planner vs Manual Meal Planning: Which Is Right for You?
Meal Planning for Busy Families: How to Simplify Weekly Meals Without the Stress
Weekly Meal Planner vs Daily Meal Planning — Which Is Better?